
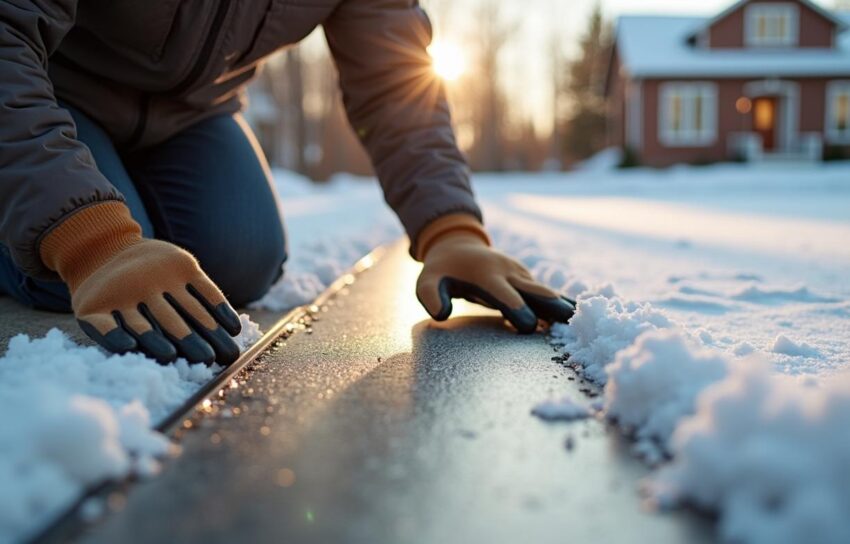
Icy entryways create a narrow, high-risk zone right where balance is hardest to recover. A person may be turning, carrying mail, stepping over a threshold, or reaching for a key while standing on slick concrete or frozen wood.
The Centers for Disease Control and Prevention reports that falls are the leading cause of injury for adults 65 and older. The U.S. Access Board’s ADA Standards and the Illuminating Engineering Society also offer useful design targets, even for private homes that are not required to meet commercial accessibility rules.
The best senior home safety upgrades start outside the door, not inside the hallway. Ice control, drainage, lighting, hand support, and threshold changes work together, especially during freeze-thaw cycles.
Start with the surface underfoot
Entryway ice often forms because meltwater refreezes at night. Watch the area during a thaw, then again before sunrise. If water runs toward the door, pools at the bottom step, or drips from a gutter, traction strips alone will not solve the cause.
Concrete and wood should have a walking surface with enough texture to grip a winter boot. Smooth painted concrete, glossy tile, and sealed wood become slick when a thin water film freezes. For exterior walking surfaces, a broom finish, textured coating, or rubber stair tread gives better contact.
The ADA Standards allow a maximum ramp slope of 1:12, meaning 1 inch of rise for every 12 inches of run. That is a useful benchmark for sloped walks near an entry. A steeper slope can send a walker or cane sliding downhill before the person reaches the door.
Check drainage before adding traction
Downspouts should discharge at least 5 feet away from the walking route. If the leader pipe empties onto a sidewalk or stoop, extend it to a lawn area or underground drain. A small splash block rarely helps when snowbanks block flow.
Door mats should not trap water at the threshold. Choose a mat with beveled edges and a low profile under 1/2 inch thick. Replace curled mats immediately, because curled corners catch canes, walkers, and winter boots.
Add grip where feet actually land
A person usually places one foot at the outside threshold, one foot on the first step, and one foot near the door handle. Those exact landing spots need the most traction. Mark them after observing how the resident enters on a normal day.
Adhesive grit strips work best on clean, dry, smooth surfaces. Place strips across the full stair tread, not just the center. Leave about 1/2 inch from the front edge so the strip does not peel when shoveled.
Rubber stair treads give more coverage than narrow strips. They also reduce glare, which matters when ice is hard to see. For exterior stairs, choose open-pattern or drain-through designs so meltwater does not sit underneath.
Use deicer carefully near aging concrete
Rock salt works down to about 15°F, but it can damage concrete, metal railings, and nearby plants. Calcium chloride works at lower temperatures, often below 0°F, but it can leave a slick residue if overapplied. Use the label rate, then sweep up slush after the ice breaks.
Sand does not melt ice. It adds temporary grit when temperatures stay too low for deicer. Keep a covered bucket near the door, with a scoop that can be used while wearing gloves.
Improve lighting before the first freeze
Winter slips often happen in dim light, not total darkness. Shadows hide black ice, step edges, and uneven pavers. The Illuminating Engineering Society recommends higher light levels for older adults because aging eyes need more contrast.
Place lighting so it shines across the walking surface, not directly into the eyes. A fixture beside the door should light the lock, threshold, and top step. A second fixture or path light should cover the route from driveway to entry.
Motion sensors help when hands are full. Set the timer for at least 5 minutes so the light stays on while the person unlocks the door and steps inside. Choose outdoor-rated LED fixtures with a color temperature around 3000K to reduce glare while keeping contrast.
Mark edges with contrast
Step edges need visible contrast during snow and dusk. A dark tread with a light nosing, or a light tread with a dark front edge, helps the eye read depth. Use exterior-grade paint or nosing strips rated for wet locations.
The contrast band should run the full width of each step. A 1-inch to 2-inch strip is usually enough to define the edge. Avoid shiny tape on outdoor steps, because reflected porch light can hide the edge.
Add rails, handles, and a safer threshold
Hand support matters most at the moment weight shifts. That happens at the first step up, the top landing, and the doorway. A person should not need to lean on a storm door, mailbox, planter, or loose post.
The U.S. Access Board’s ADA Standards place handrail height between 34 and 38 inches above the walking surface. That range works well for many older adults at home. Rails should return to a wall or post at the ends so sleeves and bags do not catch.
A round rail diameter between 1 1/4 and 2 inches is easier to grasp than a wide flat board. Leave at least 1 1/2 inches between the rail and wall. For a typical exterior rail installation, expect a professional job to fall around $400 to $1,200, depending on length, material, and anchoring needs.
Fix the door transition
Thresholds become dangerous when ice builds against them. The ADA Standards limit many accessible thresholds to 1/2 inch high, with beveled edges when needed. A private home may not need strict compliance, but that measurement is a practical target.
Weatherstripping should seal without requiring a hard shove. If the resident must push the door with a shoulder, balance gets worse on ice. Adjust hinges, strike plates, and sweeps before winter.
Choose the right upgrade for the situation
Different entryways need different fixes. A covered porch with one step has different risks than a steep walk from the driveway. Match the upgrade to the cause you can see during wet weather and freezing mornings.
| Situation | Best first upgrade | Why it fits | Watch for |
|---|---|---|---|
| Ice forms from roof runoff | Gutter repair and downspout extension | Stops water before it reaches the walking path | Snow-packed discharge points |
| One or two exterior steps feel slick | Rubber treads plus edge contrast | Improves grip and depth perception at foot placement | Loose fasteners after freeze-thaw cycles |
| Long sloped walk to the door | Regrading or compliant ramp design | Reduces downhill sliding and cane instability | Slopes steeper than 1:12 |
| Dark porch and driveway route | Motion lighting with side placement | Reveals ice, steps, and threshold edges | Glare from fixtures facing the eyes |
| Walker catches at the doorway | Lower beveled threshold | Reduces trip risk during weight transfer | Door sweep drag and air leaks |
If the resident uses a cane, prioritize traction and lighting first. Cane tips skid on ice before shoes lose contact. Add a rail where the cane hand cannot provide enough support.
If the resident uses a walker, prioritize threshold height and clear landing space. A landing should allow the walker to sit flat before the door opens. Aim for at least 36 inches of clear width along the route, using ADA guidance as a benchmark.
Set a winter maintenance routine
Install upgrades before the first hard freeze, not after the first fall. In many cold regions, that means finishing exterior work by late October or early November. Adhesives, coatings, and concrete repairs often need temperatures above 50°F to cure properly.
After each storm, clear snow to the full walking width instead of making a narrow trench. Meltwater from trench walls refreezes along the footpath. Shovel the top landing, step edges, and the area where a car door opens.
Inspect the entry every two weeks during winter. Look for lifted traction strips, loose rail brackets, burned-out bulbs, and mats that have shifted. Replace cane tips and walker glides when rubber hardens or the tread pattern wears smooth.