
It’s tempting to pop the cover off a misbehaving appliance and “just take a look.” Sometimes that curiosity pays off—you reseat a hose, clean a filter, hit a reset, and boom, it’s back to normal. Other times, you’re one stripped screw from a bigger headache and a voided warranty.
If you’ve ever Googled fridge buzzing at night what do I do, you know the feeling. When in doubt, you can always compare notes with a trusted fridge repair technician near me, but here’s how to decide what’s safe to try first and when to call in a pro.
Start with safe, simple checks (the “no-tool” or “one-tool” fixes)
Before you spend a cent, rule out the obvious. These steps are low-risk, fast, and surprisingly effective:
- Power and resets: Make sure the plug is fully seated and the outlet works (lamp test). For washers/dryers/ovens on dedicated circuits, check the breaker or GFCI. Many modern appliances recover from software hiccups after a 5–10 minute power cycle. Some dishwashers and fridges also have control-panel resets in the manual—use them.
- Filters: Clogged lint filters and dryer vents cause slow drying and overheats. Refrigerator air and water filters (and the little mesh screens on water inlet hoses) can restrict flow and create odd noises or ice-maker issues. Range hood filters too—grease-laden filters choke airflow and make fans sound sick.
- Hoses & kinks: Laundry not filling? Look for a kinked inlet hose or a partially closed shutoff valve. Dishwasher leaving water? Check the drain hose loop height and clean the air gap (that tiny chrome cap near many sinks) if you have one. Fridge making a rattling racket? Verify it’s level and that the condenser coil area isn’t packed with dust bunnies.
- Door gaskets & obvious obstructions: A bent shelf or a stray utensil can keep a dishwasher spray arm from spinning. A torn fridge gasket leaks cold air and forces the compressor to work overtime. Warm milk + frost party on the back wall = likely airflow blockage.
- Modes, settings, child locks: Sounds silly, but it happens: child lock engaged, delayed start accidentally set, or “sabbath mode” turned on. Two button presses can “fix” what looks like a dead control panel.
If one of these basics solves it, celebrate. You didn’t alter sealed systems, mess with gas or high voltage, or slice through any warranty-sticker tape. That’s the line you should aim not to cross casually.
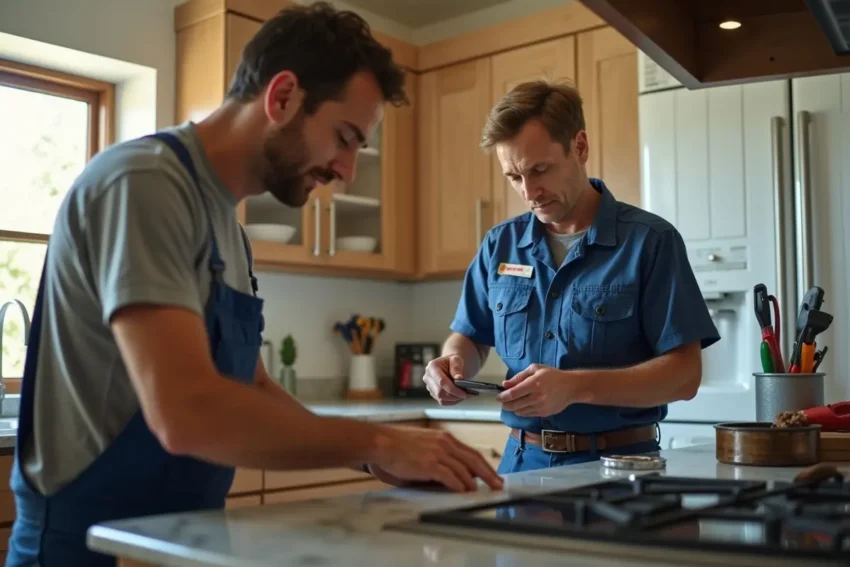
We specialize in fridge appliance repair for all major brands, providing fast, professional, and reliable service across New York. Whether you need a quick fix or a full system diagnosis, our certified technicians have the expertise to restore your refrigerator to perfect working condition. For expert repair Sub-Zero refrigerator, visit our dedicated service page.
Safety red flags: stop, don’t poke—call a pro
A few conditions move you directly from “DIY curiosity” to “phone a technician”:
- Burning smell, scorched plug, or melty plastic. That’s often a high-resistance connection or failing motor/control. It can escalate fast. Unplug and call.
- Frequent breaker trips or sparking. Electrical faults aren’t for “trial and error.” Not worth it.
- Active water leak inside walls/flooring or from a pressurized line. Shut the water off. Water + electricity = bad combo; slow leaks also breed mold.
- Gas appliance issues: Smell of gas, sooted flames, or relight troubles on ovens or dryers. Combustion safety is not a DIY playground.
- Sealed refrigeration system symptoms: Hissing with oily residue, totally warm fridge/freezer while fans run, or compressor clicking repeatedly. Refrigerant handling requires certification and the right tools.
- Blades, springs, torsion loads. Garbage disposers jammed with metal, oven doors under spring tension, or dryer drums on sharp edges—easy to injure yourself.
If you see any of the above, don’t open panels. Kill power/water/gas and schedule a visit.
The sweet spot for DIY: parts you can access without dismantling the machine
Plenty of fixes live in the “safe and sane” category:
- Clean or replace: lint screens, dryer vent ducts (short runs), fridge condenser coils (brush + vacuum), dishwasher filters, range hood filters, water inlet screens.
- Re-seat or unkink: inlet and drain hoses, shelf tracks, detergent drawers.
- Replace simple wear parts that are easy to reach: fridge light bulbs, crisper drawers, dishwasher racks/wheels, oven door gaskets (many snap in), water filters.
Think of these as “front-of-house” tasks—no sealed panels or live circuits, minimal tool use, and zero cuts into the refrigerant or gas path.
Thresholds for calling a technician (and protecting your warranty)
Even if a job looks doable, three clear thresholds say it’s smarter to call:
- Warranty & service bulletins: If the unit is under manufacturer or extended warranty, opening sealed panels or installing non-OEM parts can void coverage. When documentation says “service by authorized technician only,” believe it. Also, some brands push service bulletins for known issues; techs can apply fixes or firmware updates you can’t.
- Cost-of-error vs. cost-of-visit: A diagnostic visit is often cheaper than one wrong part or a cracked plastic clip that forces a costly assembly replacement. A rough rule of thumb: if a mistake could cost >30–40% of the unit’s value, defer to a pro. Control boards, refrigeration components, and glass assemblies fall in this “expensive oops” bucket.
- Tools, meters, and time reality: If the repair requires a manifold gauge set, vacuum pump, manometer, insulation resistance tester, or brand-specific software, it’s shop-grade work. Same if disassembly runs longer than you can comfortably reassemble in the same day—half-rebuilt appliances often cause secondary damage.
Quick decision roadmap (bookmark this)
- Unit powers, no scary smells, no leaks? Try: outlet/breaker → hard reset → settings/locks → filters/hoses/gaskets → basic cleaning/leveling.
- Any burning smell, sparks, gas odor, or steady leak? Unplug/valve off → call a tech now.
- Intermittent, weird control behavior but no danger signs? Document model/serial, capture a short video of symptoms, and schedule a diagnostic (software faults are common).
- Under warranty or uncertain about a seal/board? Don’t open the panel; call. Keep receipts and photos.
How to try DIY without making things worse
A few small habits keep your “home lab” safe:
- Power discipline: Unplug before removing any panel. For hardwired ovens/cooktops, shut the breaker and label it so nobody flips it on mid-repair.
- Photo everything: Take pictures during each step so you can reverse the process. It’s astonishing how similar harness connectors look when you’re tired.
- Contain screws & clips: Ice-cube tray or muffin tin works great. Lose one spring clip and you’ll hear it rattling for years.
- Use the right parts: Match model numbers exactly. Substitutions are fine only when the part list says so.
- Test gently: After reassembly, power up while you’re watching and ready to disconnect if something behaves abnormally.
Bottom line
Try the safe, reversible stuff first: resets, filters, hoses, leveling, simple cleaning. Respect the red flags—burning smells, tripping breakers, gas odors, active leaks, sealed-system or board issues. Guard your warranty by not opening what you shouldn’t.
When the fix threatens your safety, your coverage, or your budget, calling a technician isn’t “giving up”; it’s the smart, cheaper play over the life of the appliance. And if the situation feels borderline, get a quick professional opinion—ten minutes of expert eyes can spare you a weekend of parts-roulette.