
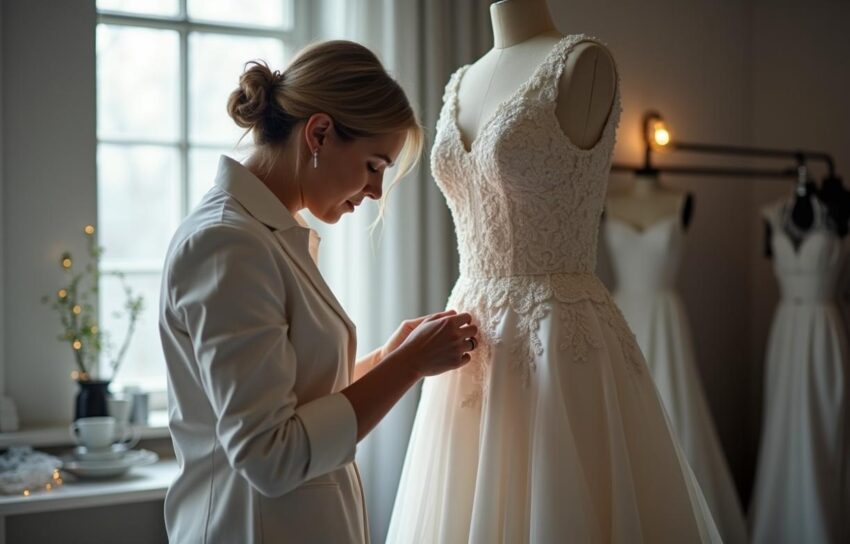
Winter weddings change the fitting calendar. Heavy fabrics, sleeves, overskirts, capes, and thermal underlayers all affect how a gown sits. Travel can also complicate appointments when snow, holidays, and shorter daylight hours reduce seamstress availability.
A strong wedding dress alterations timeline gives you enough room for reshaping, weather-specific styling, and a final fit after your shoes and undergarments are locked in. For cold-weather weddings, start earlier than a spring bride would, especially if your dress has long sleeves, beading, lace appliqué, or a structured bodice.
Start 12 to 16 weeks before the wedding
Book your first alterations appointment 12 to 16 weeks before the wedding date. Choose the longer end if your wedding falls between late November and early January. Many bridal studios reduce hours around Thanksgiving, Christmas, and New Year’s, while dry cleaners and steamers often see seasonal delays.
The Knot’s alterations guide notes that wedding dress alterations usually take 6 to 8 weeks, with a first fitting recommended 2 to 3 months before the wedding. That matters here because alterations depend on several people, not just the seamstress. Your salon, tailor, presser, and dress transporter may each need separate appointments.
Bring your actual wedding shoes, bra, shapewear, petticoat, and any cold-weather layer to the first fitting. A 1-inch heel change can alter the hem noticeably. A thermal bodysuit can add bulk at the waist, bust, and sleeve seam.
If your dress has sleeves
Long sleeves need more lead time than strapless gowns. A sleeve should allow you to bend your elbow past 90 degrees, hug someone, and lift a bouquet to chest height. If the armhole feels tight during those movements, ask for an adjustment before the second fitting.
Lace sleeves can take longer because appliqués may need removal and reattachment. Beaded cuffs also slow the process. If the sleeve has buttons at the wrist, test whether you can fasten them while wearing your rings.
If your dress has a train or overskirt
A train needs bustle planning early, especially on wet or icy ground. Ask your tailor to pin the bustle while you walk, turn, and sit. A cathedral train usually needs more anchor points than a chapel train.
Overskirts need separate checks at the waist, hem, and closure. If you plan to remove one after portraits, practice the change with your maid of honor. Time the removal once, because cold hands and tiny hooks can add several minutes.
Plan three fittings, not one emergency appointment
Most brides need three fittings. The first appointment shapes the dress. The second checks those changes. The final appointment confirms the exact fit after weight, posture, undergarments, and shoes are stable.
The American Society for Testing and Materials publishes body measurement standards used across apparel, including ASTM D5585 for adult female body measurements. Bridal gowns still need hand fitting because formalwear has less stretch than everyday clothing. A quarter inch at the bust or waist can affect boning, cups, and zipper tension.
Expect the first fitting to last 60 to 90 minutes. The second often takes 30 to 60 minutes. The final try-on may take 20 to 45 minutes, unless the bustle needs another correction.
| Appointment | Best timing | What should happen |
|---|---|---|
| First fitting | 12 to 16 weeks out | Pin bodice, hem, sleeves, bustle, and cold-weather layers |
| Second fitting | 6 to 8 weeks out | Check major work and refine movement issues |
| Final fitting | 2 to 3 weeks out | Confirm fit, bustle, steaming plan, and pickup date |
Adjust the timeline for fabric, weight, and weather layers
Winter gowns often use mikado, satin, velvet, brocade, crepe, or layered tulle. These fabrics behave differently under heat, moisture, and body movement. Heavy satin can show pull lines at the hip, while crepe reveals undergarment seams quickly.
If you plan to wear a cape, faux-fur wrap, bolero, or wool coat, bring it to every fitting. Shoulder coverage changes posture. A capelet can pull a delicate neckline backward if the clasp sits too high.
Structured bodices and boning
A structured bodice should stay close to the ribs without cutting into the skin. You should be able to take a deep breath and sit for ten minutes. If the zipper ripples, the bodice may need side-seam adjustment or cup correction.
Boning can press differently in cold weather because brides stand outside longer for portraits. Test your gown while seated in a chair similar to your dinner chair. Low-backed banquet chairs can expose gaping that a salon pedestal hides.
Choose the right alteration path for your dress
Some gowns need only standard tailoring. Others need design-level changes. Your best option depends on timing, garment structure, and how much your body measurements changed after ordering.
| Situation | Best choice | Conditions |
|---|---|---|
| Dress fits closely, hem is long | Standard alterations | Bust, waist, and hip are within 1 inch of target fit |
| Sleeves restrict movement | Sleeve and armhole adjustment | You cannot raise arms to shoulder height comfortably |
| Bodice gaps or zipper strains | Structural bodice work | Difference exceeds 1 inch at bust or waist |
| Winter cape changes neckline | Accessory fitting with gown | Cape, wrap, or coat touches shoulders or neckline |
| Wedding is under 6 weeks away | Rush alterations | Choose only essential fit and safety fixes |
Rush work is possible, but it narrows your choices. A salon may charge a rush fee around $75 to prioritize labor during peak weeks. Use that option for hems, straps, urgent bodice fixes, or bustle repairs, not complex redesigns.
When to skip a major redesign
Skip a redesign if the wedding is less than eight weeks away and the change affects lace, beading, boning, or sleeves. Removing sleeves, lowering a back, or changing a neckline can disrupt the gown’s internal support. Those edits may also require new lining, new closures, and fresh pressing.
Choose accessories instead when weather coverage drives the redesign. A lined cape, detachable topper, or wrap gives warmth without opening the dress construction. This works especially well for church ceremonies, outdoor photos, and venues with drafty entrances.
Final fitting, pickup, and cold-weather transport
Schedule the final fitting two to three weeks before the wedding. This timing leaves room for small fixes without exposing the gown to unnecessary storage risks. Do not schedule it the day before travel unless the salon already finished every alteration.
The Federal Trade Commission’s Care Labeling Rule requires textile garments to include care instructions from the manufacturer. Read the gown label before steaming, pressing, or spot treating. Satin, silk, acetate lining, and glued embellishments can react badly to home steamers.
At pickup, inspect the hem in your wedding shoes. Sit, walk, climb one step, and practice the bustle. Ask someone to record the bustle process on a phone, because winter receptions often involve dim light and cold fingers.
Transport the dress in a breathable garment bag, not sealed plastic. Keep it inside the car cabin, away from slush, road salt, and trunk condensation. If snow is likely, pack a clean white sheet for stepping into the gown and a lint roller for velvet, wool wraps, or faux fur.